The Odd Gentlemen’s King’s Quest revival continues with Chapter 2: Rubble Without A Cause for PlayStation, Xbox and PC platforms. The game has a number of obstacles and puzzles that some players have had trouble completing, but thankfully there is a complete gameplay walkthrough available to help out with the tougher segments.
YouTuber GamerrZombie has a full playlist of five videos covering the second chapter from start to finish. You can check out the full walkthrough below.
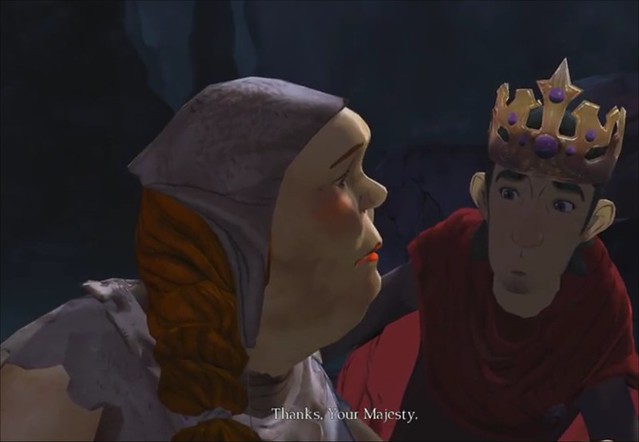
The game starts off with a series of comical royal duties that a young King Graham must deal with. Players will get to choose from a number of different options regarding how the kingdom can be ran.
The first major gameplay segment that stumped players was the goblin cave after Graham gets tossed down into the hole. The basic concept is that players must move around in the dark and follow the little glow creature around.
When you get near the creature press the action button to move it around. The objective is to grab the jar on the ground and then put the glow creature in the jar. When it rolls around you’ll find the jar near the bottom of the left hand side of the screen. You’ll hear Graham stumble cross the empty jar – pick up the jar and go into your inventory to use it to capture the glowing newt to get out of the dark.
After capturing the newt the room will light up with other glow creatures. From there, Graham will have to find a way to replenish his health by eating.
Use the lever in the room to get the chamber pot; put it under the pipe that dispenses the porridge to feed Graham.
After eating use the lever again to let down the bed to sleep.
There are three optional quests in the goblin cave involve finding medicine for the captured bakers, a blade for the Amaya, and snacks for Chester and his wife.
After completing the tasks for the day Graham will sleep, wake up and have to feed the giant rat. He’ll discover a hiding place there. Feeding the rat is pretty simple, just go into the inventory and give the rat the meat.
When you get the web off of the ceiling, head through the cave to the entrance guarded by a goblin. There’s a lever next to him. Press the lever and attach the spider-web to it in order to get past him.
The store owner inside the cave has has most of the items necessary to help those trapped inside the cave. With Graham only having one gold coin, it means you have to pick and choose to help. You can use the cure-all medicine to help Bramble. Give them the wooden chair to use as a way to heat up the furnace. From there you’ll need to find flour so they can make the sweety cakes. If they begin to get weak again, just give them one of the pieces of meat that Graham gets each day.
After sleeping, the next day when it’s time to go about the daily duties… take the meat that the goblin hands to Graham and give it to the old couple in the cell. They’ll task Graham with finding an eye of a fly in order to make a potion to escape.
Sleeping will result in the goblins giving Graham yet another piece of meat. It’s possible eat the meat and get Graham high enough in strength to open one of the levers in the cave. One of the rooms that opens up leads to a play taking place with the goblins. Move the weight over the trap door, fall onto the stage and take the frog from off the stage. Use the frog in the room with the flies to grab a fly and get the eye of the fly. Bring the fly to the potion makers.
The fly only results in the couple having to come up with a new plan when the weed killer fails, this includes making a bone bomb.
Use the weed growth potion to sprinkle it on the weeds that can be used to climb up the tower. After sleeping the weeds will have grown high enough for Graham to climb them. Once up top there’s a gold coin that Graham can get and use to buy items from the store.
Use the two gold coins to buy the porridge from the wares seller. Head back to Graham’s cell and eat the meat the next day to fully restore Graham’s health.
He’ll now be able to access the final room in the cave. There will be some goblins messing around with a white slipper that falls into a batch of weeds. Pour the weed growth onto the weeds and come back the next day to see the growth.
When Amaya is taken out of her cell during the next day, the guards will be too busy crying and leave the key unattended. Use the key open the door housing the flour. Give the meat to Bramble along with the flour. When they make the sweety cakes it doesn’t work and they require Chunder blossoms. You’ll find the blossoms up at the top of the tower where the gold coin was.
Continue to feed Bramble and her husband until their health meter is near the top before giving them the Chunder blossoms. They’ll use the backed goods to knock out the guards.
You can use the spare sweety cake to give to the potion makers to keep them healthy. In order to help them finish their second potion you’ll need to acquire a flower. You can grab a wilted rose through the small small door north of where the goblins are watching the play. Get the wilted rose and dip it into each of the water chalices scattered around the cave. This will turn the wilted rose into a fresh rose to use as part of the old couple’s potion.
Head back to Graham’s cell and remove all the nuts from the tank to the far left of the screen. After removing all three bolts the pipes will break and will open up for Graham to climb through. Memorize the position of the music notes on the music box in the room. Head back to the room where there’s a goblin atop a bunch of mattresses. Position the music notes as they were in the room with the spindle and hay. Play the music box to put the goblin to sleep and grab the pea from between the mattresses.
The pea will be the final ingredient for the bone bomb but Muriel and Chester will need to be at full health before they make the bomb. Continue to sleep and feed them until they get to full health so they can make the bone bomb.
Things don’t quite go as planned but Graham gets the bomb instead. You can head back to the room where the goblins are that lost the white slipper. Grab the slipper off the weed and give it to the goblin to the one sweeping up off to the right of the screen. The goblin will give Graham the broom and they’ll clear out of the room. Light up the bomb using the furnace to blow a hole in the wall to get to a lair featuring a wall full of story book pages.
Move through the pipe that the goblins take apart and get the bolt cutters. Use the cutters on the jail cell that Bramble and her husband are in to free them (if you want). From there players will have to do a mini-game involving Bramble and a jumping puzzle.
Pick up the baby dragon in the next room and use it in front of the light source to scare away the goblins from the exit of the cave.
The final sequence sees players having to flesh out Graham’s story to the goblins by picking items from out of his inventory. The first item is whoever joined you from the jail. The second item is Graham’s cap. The third item is the page with the heart on it.