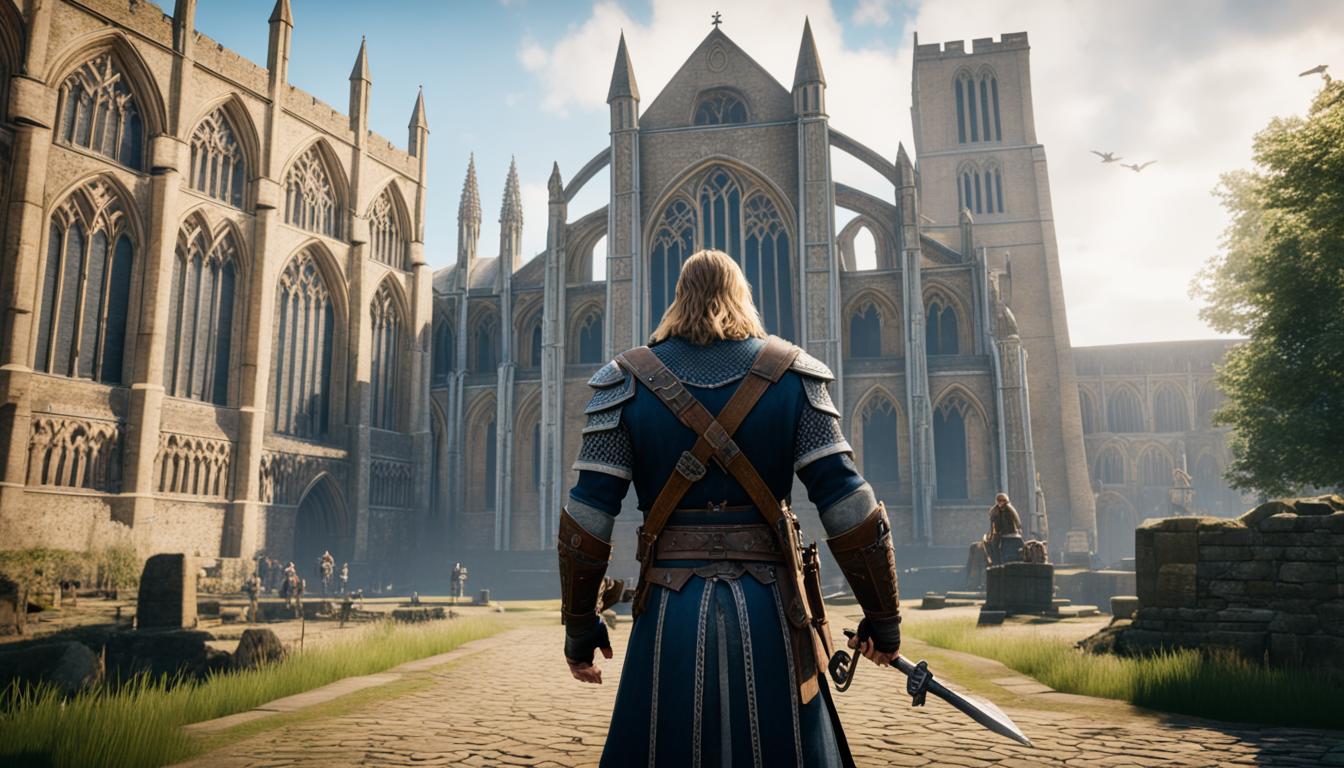
Underdread is a horror puzzle game developed by Bigzur. Originally I wasn’t going to write a guide for this game, but I have had quite a few people ask me for help with the puzzles, so I decided to go ahead and write a complete walkthrough to help them out, especially since the YouTube video series gave up.
Getting Started
Before we get into the game here are a few of the basics you need to learn and keep in mind while playing the game-
1. Ward. Press G to use your Ward ability, you have a limited number of them so use them wisely.
2. Finding cover. The eye icon means you can crouch down and hide, any monsters in the area will ignore you as long as you stay hidden. You will use this often. It is better to hide than use Ward.
3. The story scrolls randomize and change positions, so I’m not going to bother telling you where they are because they are never in the same location when you play again.
Chapter 1
The Stone Key Puzzle
You will start in the dungeon, walk straight ahead and take the scroll on the desk and open the drawer.
You need four stone keys to open the giant stone door.
1. Take the Stone key inside the top drawer of the main desk.
2. Take the stone key in the top drawer just left of the giant stone door.
3. Take the stone key in the treasure box to the right of the main table near the dead body.
4. Walk into the next room with the giant ghost skeleton and press G to scare it away with your Ward ability. Walk straight ahead and open the top drawer in the back room to take the final key.
Place all four keys in the giant stone door to open it and move on to chapter 2.
Chapter 2
At the start of the next area, there is a torch at the north east corner of the room, pull it to open the secret door. Go down the stairs, you will find a locked gate. Continue down the rest of the stairs.
Turn left until you find the skeleton, it has a scroll in its hand, take it. Go back up the stairs and touch the statue near the locked gate.
There is a monster that will attack you, but it doesn’t seem to actually harm you so just ignore it.
You will have a promp telling you to hide, go behind the pillars with the arrow and press C to hide. memorize all of these pillars and use them to hide for the next few segments. Whenever the wailing skeleton comes around just crouch down and hide behind one of the pillars.
This is the Ghost Skeletons Pattern:
1. He comes up the stairs and looks around.
2. He moves to the center of the room and looks around
3. He moves towards the left bloody bridge and looks around
4. He comes back towards the center and looks around.
5. He moves up towards the top locked door and looks around.
6. He comes back to the center and looks around.
7. He moves towards the left bloody bridge again and looks around.
8. He floats over the stair rail of the bloody bridge and goes down to the bottom floor and it repeats this pattern to step one.
Keep track of his position and time your actions around his movements.
The Switch Puzzle
You need to open the door for the next area by flipping several switches to red gems, this will lower the center pillar to access the next puzzle. However, the switch locations randomizes, so I can only give you basic locations for all the switches.
1. The first switch is behind the pillar they prompt you to hide behind. Flip it.
2. The second one is on the bookcase in the same area.
3. The next one is near the stairs after you first walked up next to the statue, flip it.
4. The next is next to the statue in the small study area with the desk. Check the drawers in that area as well for an extra Ward shield and a coin, they randomize so it is never in the same place.
5. The next switch is just behind that one in the same area, hidden inside the treasure chest.
6. The next is across from the study area in the small area with the two treasure chests.
7. Open the treasure chest in the same area and flip that switch as well.
8. Run to the far left into the next treasure room area with the coins scattered on the floor. Once you cross the bloody bridge there is a pillar to your right, there is a switch hidden there between the two pillars.
Remember the pattern of the skeleton while in this area!
9-15?. The next few are tricky. Some are in the treasure chests just behind the pillars and scattered around the room. The problem is that they randomize and change locations so you will just have to open all the chests and look carefully on the bookcases, sometimes they can also be on the shelf attached to the pillars.
If you did it correctly and found all the switches, run back towards the stairs, the main pillar should have lowered and there should now be a statue there surrounded by candles. Click it to open the door.
If it isn’t completely touching the ground, look for the last switch that you missed then touch the statue to move on.
Inside The Door Room
The skeleton’s pattern slightly changes here since The Door Room is now open. It will now enter the room and look around. Use the sides of the pillars to hide when it comes near. It will proceed to go through the blocked area above you, then will come back out, look around, and leave out the door again to carry on the original pattern.
You will have about 3 minutes before it returns back to The Door Room, so keep that in mind.
You will find yet another locked door. Inside the same room there is a ward on the ground and a note that gives you a hint that you have to pay all the angel statues with gold coins.
The Coin Statue Puzzle
Go back the way you came and look for all the angel statues with plates in front of them and pay them their coins. Two are in The Door Room where you find the hint scroll, one is back down the stairs near the beginning, one is next to the stairs, and the last one is across the bloody bridge. After all the statues are paid you should get a prompt that the next door is now open.
Slaying Demons Puzzle (AKA, Toy Statue Puzzle)
The new door has a miniature statue, you have to find all the little daggers located around the stage to move forward. Their position randomizes, so just run back throughout the stage and find as many as you can. They are inside chests, on the bookcases, and inside drawers or stuck on top of tables. There might be 2 inside the miniature statue room, and one more in the other room just outside.
Once you have about 6 daggers, go back to the open door.
On the left side of The Door Room there is a path that is blocked by angel and demon statues, you need to open that path. The miniature statue is an exact replica, you will need to stick the daggers into the demons of the miniature statue, and the same statue outside will crumble and fall. Just create a straight line with the daggers so you can walk through.
The Angel Statue Puzzle
After you go past the demon statues there is a pedestal room on the right, you have to put a statue on it. Move fast here because there is nowhere to hide inside this room, so if you are caught you will die. Use a guard Ward if you have to. Return back to the gold treasure room across the bloody bridge and grab the small angel statue there, then return back to the pedestal room and put it down, it will open a secret wall.
Go down the stairs, you will be safe here. There is a lever on the right side of the wall, flip it to open the locked gate. proceed to go all the way down the stairs, then turn left and take the book on the altar. (no idea what this does yet)
Holy Water Puzzle
You will come across another room with a spikey pit of death, walk near it once to trigger the next quest, but as long as you don’t walk any farther or go near it you will be safe. You now need about 6 bottles of holy water. They have a cross on the top of the bottle. Go back to the beginning of the stage and collect as many as you can. After you have six, return to the spiked pit of death and click on it to kill the wailing dead skeleton.
Move to the next area, find the altar and take the dagger, then click the bowl on the altar. The gate near the spiked pit of death is now open.
The Alchemy puzzle
Inside the next room there is a Ward on the ground if you walk straight ahead, it randomizes so check the chests as well. Find the Alchemy table, you need 10 red potions, 10 pink, 6 blue, and 4 purple potions. Go back to the start of the level and collect all those potions you saw lying around before, then return to the alchemy table and make the acid potion.
Run all the way back to the beginning to the main stairs with the angel statue pillar (from the switch puzzle), from there walk towards the bloody bridge and turn into the alcove on the right. There is another angel statue in the corner with two gargoyles next to it, click on the angel statue to activate the acid and push the statue over the ledge. Quickly jump off the edge to go to the next chapter.
Chapter 3 – The Caves/Catacombs
NOTE: This stage is very hard and has TWO enemies you have to fight. The death fog and what I call the bloody soldiers (but I believe one of the updates may have removed the fog because it was too hard), both have two different patterns that intersect which makes this hard to play. The fog’s pattern more-or-less is random, so you just have to avoid it to not choke. The bloody soldiers navigate around similar to the ghost skeleton, but it is easy to avoid if you know how to move.
Follow the cave until you find an alcove with a statue, continue past there until you find an abandoned camp site. There is a stone on the right side of the wall you have to press that will open a new path back new the statue alcove.
Through the alcove there is a wooden door on the right side, it is locked. Continue to the far end of the tunnel to find the lever to open that door.
The Candle Puzzle
Go through the new door and you will eventually come across a puzzle with candles on the floor. Follow the exact path of the candles to reach the other side, mess up and the ceiling will smash you and kill you.
The Plank Bridge Puzzle
Continue on until you find a split fork path, turn left to find the endless pit and look at it, this will activate the next puzzle. Go back and continue straight ahead down the rest of the tunnel until you come to a dead-end, there are two planks leaning up against the wall, take them and go back to the endless pit and click on the very edge of the existing planks to put them down to make a new bridge.
NOTE: If you can’t put the planks down try crouching first.
If the Bloody Soldiers appear, you can hide on the blank bridge and crouch to keep them from killing you. The first time they will pass on by and go to the dead-end tunnel. It won’t take them long to come back, the second time they will come towards the endless pit tunnel, then turn towards the candle puzzle trap.
So after you put the planks down, crouch and hide near the endless pit, then wait for the Bloody soldiers to pass, then run towards the candle puzzle and go passed there, you will find the second planks leaning up against the side of the wall. There will be an alcove in the side of the cave that you will be able to go in if you keep running down that tunnel, go to the far back wall of the alcove and crouch there and hide and wait for the soldiers to pass on by, you will be safe there.
Go back to the Endless pit and place the second planks down.
The Iron Gate Puzzle
Walk forward a bit and crouch then just wait there until the bloody soldiers pass by and go towards the left. As soon as it passes, run as fast as you can and turn right, you will make it to a split road, turn left and follow it to the end of the tunnel. There is a button there, press it and turn back the way you came.
Run as fast as you can and continue straight ahead and go down the next tunnel and follow it until you see a tipped over cart on your right side, run behind it and crouch down and hide. Smash up to the back of the tunnel and just wait there. If you did it correctly, the Bloody Soldiers will come down the tunnel and will pass by, just wait until it turns around and goes back the way it came. Run down the rest of the tunnel and flip the second switch at the dead-end.
Run back to the beginning as fast as you can (when you come to the fork, turn left this time). Now that you are in the main tunnel again, go inside the open Iron Gate and take the black book. Turn around and run all the way back to the beginning of the cave where the camp site was and place the book on the altar.
Be careful not to die to the Bloody soldiers so move cautiously when you go back. If they are blocking your path simply turn back and run to the hiding place near the Candle Puzzle and lure them that way, then wait for them to pass you, proceed to run passed them and put the book on the altar.
The book creates lights, follow the lights back to the Alcove Statue and go straight ahead, then turn left at the next crossroad. That path will eventually lead you to the exit.
Chapter 4 – The final chapter
Take all the notes and the key from the desk in front of you and unlock the door to the left. Congatulations, you have now finished the game!

